Basic Image Manipulating using PIL and opencv
by Hasan
- In last post we have just seen some of basic image processing techniques. Here we will try to see some manipulation of the image using both of the libraries.
- With basic python(here I meant anaconda installtion) library we need pillow. One can see basic installation guide from the website
- Another library we will be using is OpenCV
So basic image manipulation techniques we will be using here are
- Flipping Image
- Cropping Image
- Changing specific Image Pixes, helpful for drawing boxes and texts in image
Downloading Image
!wget https://cf-courses-data.s3.us.cloud-object-storage.appdomain.cloud/IBMDeveloperSkillsNetwork-CV0101EN-SkillsNetwork/images%20/images_part_1/cat.png -O cat.png
!wget https://cf-courses-data.s3.us.cloud-object-storage.appdomain.cloud/IBMDeveloperSkillsNetwork-CV0101EN-SkillsNetwork/images%20/images_part_1/lenna.png -O lenna.png
!wget https://cf-courses-data.s3.us.cloud-object-storage.appdomain.cloud/IBMDeveloperSkillsNetwork-CV0101EN-SkillsNetwork/images%20/images_part_1/baboon.png -O baboon.png
--2021-08-13 18:40:39--  https://cf-courses-data.s3.us.cloud-object-storage.appdomain.cloud/IBMDeveloperSkillsNetwork-CV0101EN-SkillsNetwork/images%20/images_part_1/cat.png
Resolving cf-courses-data.s3.us.cloud-object-storage.appdomain.cloud (cf-courses-data.s3.us.cloud-object-storage.appdomain.cloud)... 169.63.118.104
Connecting to cf-courses-data.s3.us.cloud-object-storage.appdomain.cloud (cf-courses-data.s3.us.cloud-object-storage.appdomain.cloud)|169.63.118.104|:443... connected.
HTTP request sent, awaiting response... 200 OK
Length: 663451 (648K) [image/png]
Saving to: 'cat.png’

cat.png             100%[===================>] 647,90K   879KB/s    in 0,7s

2021-08-13 18:40:41 (879 KB/s) - 'cat.png’ saved [663451/663451]

--2021-08-13 18:40:41--  https://cf-courses-data.s3.us.cloud-object-storage.appdomain.cloud/IBMDeveloperSkillsNetwork-CV0101EN-SkillsNetwork/images%20/images_part_1/lenna.png
Resolving cf-courses-data.s3.us.cloud-object-storage.appdomain.cloud (cf-courses-data.s3.us.cloud-object-storage.appdomain.cloud)... 169.63.118.104
Connecting to cf-courses-data.s3.us.cloud-object-storage.appdomain.cloud (cf-courses-data.s3.us.cloud-object-storage.appdomain.cloud)|169.63.118.104|:443... connected.
HTTP request sent, awaiting response... 200 OK
Length: 473831 (463K) [image/png]
Saving to: 'lenna.png’

lenna.png           100%[===================>] 462,73K   347KB/s    in 1,3s

2021-08-13 18:40:43 (347 KB/s) - 'lenna.png’ saved [473831/473831]

--2021-08-13 18:40:43--  https://cf-courses-data.s3.us.cloud-object-storage.appdomain.cloud/IBMDeveloperSkillsNetwork-CV0101EN-SkillsNetwork/images%20/images_part_1/baboon.png
Resolving cf-courses-data.s3.us.cloud-object-storage.appdomain.cloud (cf-courses-data.s3.us.cloud-object-storage.appdomain.cloud)... 169.63.118.104
Connecting to cf-courses-data.s3.us.cloud-object-storage.appdomain.cloud (cf-courses-data.s3.us.cloud-object-storage.appdomain.cloud)|169.63.118.104|:443... connected.
HTTP request sent, awaiting response... 200 OK
Length: 637192 (622K) [image/png]
Saving to: 'baboon.png’

baboon.png          100%[===================>] 622,26K  1012KB/s    in 0,6s

2021-08-13 18:40:45 (1012 KB/s) - 'baboon.png’ saved [637192/637192]
Loading Libraries
import numpy as np
import matplotlib.pyplot as plt

%matplotlib inline
%load_ext autoreload
%autoreload 2
We actually without using any type of library watch our image, only in jupyter notebook
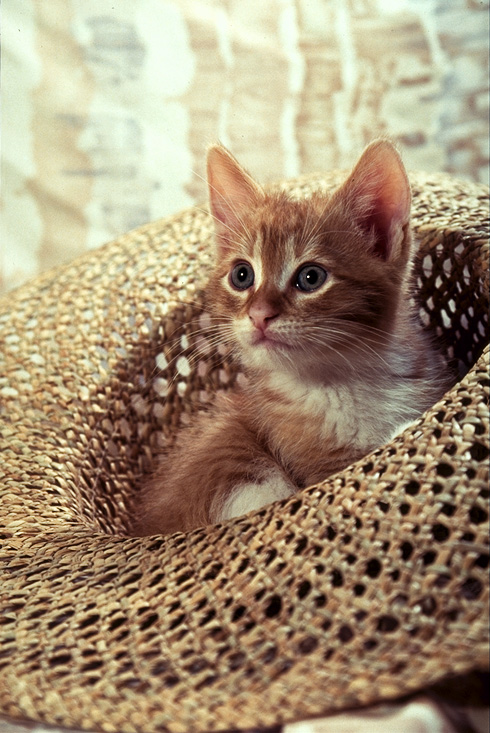
from IPython.display import Image, display
display(Image('cat.png'))
1. Flipping Image:PIL
As we have done previous post, we will first create a general function which will plot image
def show_image(im,cmap=None):
    fig, ax = plt.subplots(figsize=(10, 10))
    ax.imshow(im, cmap=cmap)
    ax.axis('off')
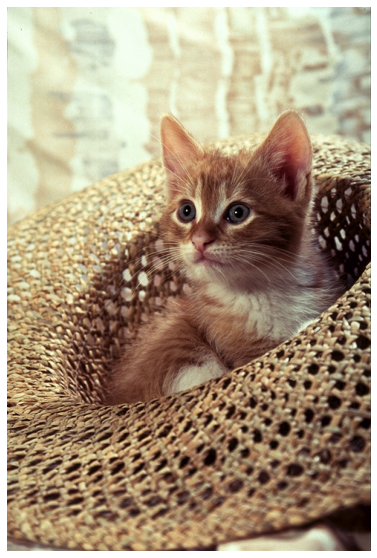
from PIL import Image
pil_image = Image.open('cat.png')

# let's check whether our funciton works or not
show_image(pil_image)
As we have seen in last post, we can convert the pil image to numpy image, and do some manipulation
numpy_array = np.array(pil_image)
width, height, channel = numpy_array.shape
print(f'width of the image {width}\n height of the image is {height} and it has  channel number: {channel}')
width of the image 733
 height of the image is 490 and it has  channel number: 3
At first we are creating an array which is similar size to our image and data type needs to be int8
flipped_array = np.zeros_like(numpy_array, dtype=np.uint8)
print(flipped_array.shape)
(733, 490, 3)
We can visulize it with our function
show_image(flipped_array)

Now we can flip the image using numpy array indexing
for i, row in enumerate(numpy_array):
    flipped_array[width -1 -i, :, :] = row
Let’s visulaize our flipped image
show_image(flipped_array)

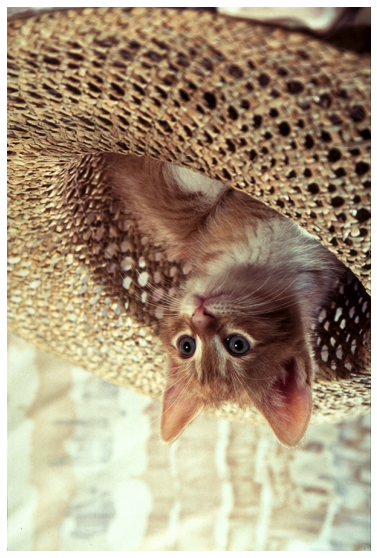
Although we can actully use PIL libray and ImageOps.flip() function. Let’s use this functiona and visualize it
from PIL import ImageOps
flipped_image_pil = ImageOps.flip(pil_image)
show_image(flipped_image_pil)
There are several function available in ImageOps, we can create a mirror image using ImageOps.mirror
mirror_image = ImageOps.mirror(pil_image)
show_image(mirror_image)
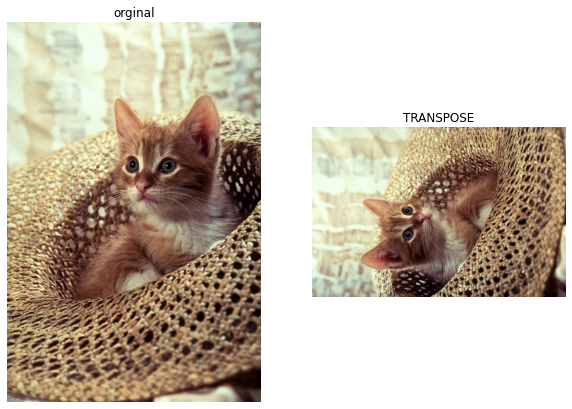
transpose method can also be used, but there needs some integer, which tells what type of transpose will be used. In case of 1 we can flip the image
im_flip = pil_image.transpose(1)
show_image(im_flip)

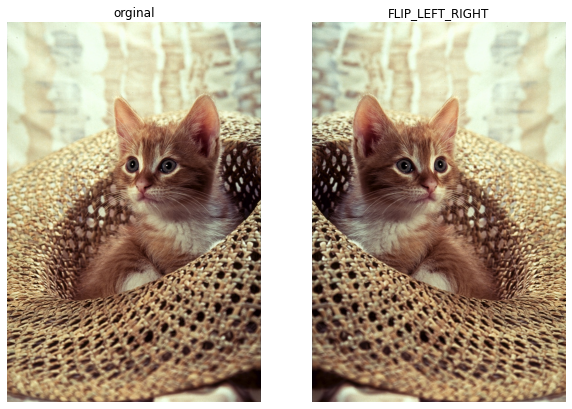
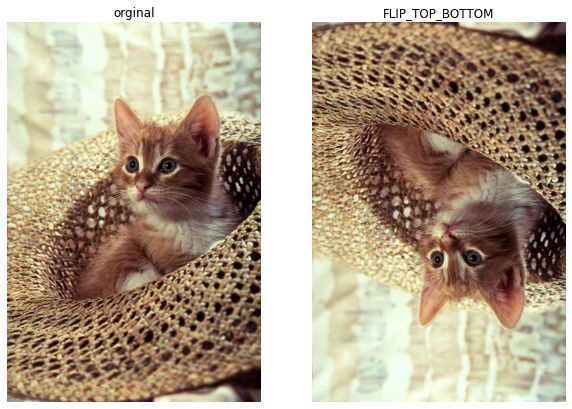
The Image module has some built in attributes that describes the type fo flip. Some are followings
flip = {"FLIP_LEFT_RIGHT": Image.FLIP_LEFT_RIGHT,
"FLIP_TOP_BOTTOM": Image.FLIP_TOP_BOTTOM,
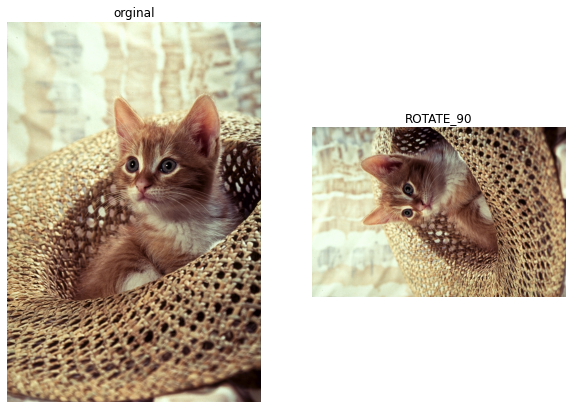
"ROTATE_90": Image.ROTATE_90,
"ROTATE_180": Image.ROTATE_180,
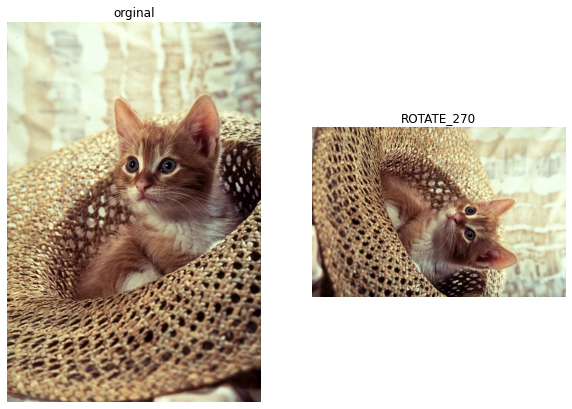
"ROTATE_270": Image.ROTATE_270,
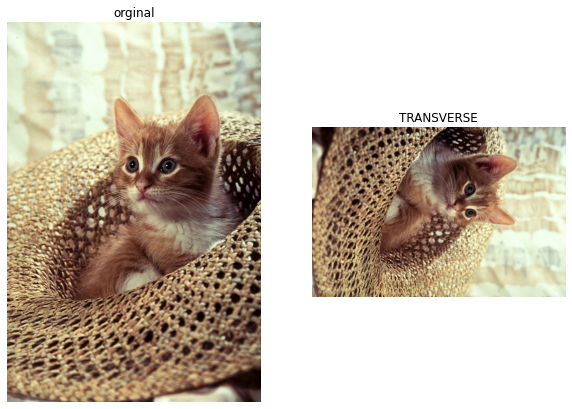
"TRANSPOSE": Image.TRANSPOSE,
"TRANSVERSE": Image.TRANSVERSE}
Some of the integer we can see
flip['FLIP_LEFT_RIGHT'], flip['FLIP_TOP_BOTTOM'], flip['ROTATE_270']
(0, 1, 4)
for i, (k,v) in enumerate(flip.items()):
    fig, ax = plt.subplots(1, 2, figsize=(10, 10))
    axes = ax.ravel()

    axes[0].imshow(pil_image)
    axes[0].axis('off')
    axes[0].set_title('orginal')
    axes[1].imshow(pil_image.transpose(v))
    axes[1].axis('off')
    axes[1].set_title(k)

Flipping Image:Opencv
import cv2
cv_image = cv2.imread('cat.png')
show_image(cv2.cvtColor(cv_image, cv2.COLOR_BGR2RGB))

again like pil image we can use shape, here it is already numpy array, therefore we don’t need to convert to numpy
What we did manually this can be done again here, but we will not repeat the same code again.
Actually OpenCV has several methods for flipping image. We can use flip() function and flipCode parameter can be used
flipCode = 0flip vertically aroundx-axisflipCode > 0flip horizontally aroundy-axispositive valueflipCode < 0flip vertically and horizontally aroundboth-axisnegative value
for flipcode in [0, 1, -1]:
    fig, ax = plt.subplots(1, 2, figsize=(10, 10))
    axes = ax.ravel()
    im_flip = cv2.flip(cv_image, flipcode)
    axes[0].imshow(cv2.cvtColor(cv_image, cv2.COLOR_BGR2RGB))
    axes[0].axis('off')
    axes[0].set_title('orginal')
    axes[1].imshow(cv2.cvtColor(im_flip, cv2.COLOR_BGR2RGB))
    axes[1].axis('off')
    axes[1].set_title(f'flipcode: {flipcode}')


Another method we can use is the rotate() method, an integer will be used to assign the degree of rotation
Actually before that let’s create a function which will first show the original image and then side by side any transformed image
def side_by_side(im1, im2,
                 im1_title='original',
                 im2_title=None):
    """Plot two images side  by side

    Args:
        im1 ([PIL:Opencv image]): [one image]
        im2 ([PIL:Opencv imag]): [another image]


    return None
    """
    fig, ax = plt.subplots(1, 2, figsize=(10, 10))
    axes = ax.ravel()
    ax[0].imshow(im1)
    ax[0].axis('off')
    ax[0].set_title(im1_title)
    ax[1].imshow(im2)
    ax[1].axis('off')
    ax[1].set_title(im2_title,fontweight='bold')
im_rotate = cv2.rotate(cv_image, 0)
side_by_side(im1=cv2.cvtColor(cv_image, cv2.COLOR_BGR2RGB),
             im2=cv2.cvtColor(im_rotate, cv2.COLOR_BGR2RGB),
             im1_title='original',
             im2_title='rotate: 0')

like PIL, Opencv has also some built in rotation method which is acutally integer and this integer will tell the rotation
flip_cv = {'ROTATE_90_CLOCKWISE': cv2.ROTATE_90_CLOCKWISE,
           'ROTATE_90_COUNTERCLOCKWISE':cv2.ROTATE_90_COUNTERCLOCKWISE,
           'ROTATE_180': cv2.ROTATE_180}
flip_cv['ROTATE_90_CLOCKWISE'], flip_cv['ROTATE_90_COUNTERCLOCKWISE'], flip_cv['ROTATE_180']
(0, 2, 1)
for k, v in flip_cv.items():
    side_by_side(cv2.cvtColor(cv_image, cv2.COLOR_BGR2RGB),
                 im2=cv2.cvtColor(cv2.rotate(cv_image, v), cv2.COLOR_BGR2RGB),
                 im1_title='original',
                 im2_title=f'{k}')


Cropping Image: PIL
Cropping is cut out some part of the image and removing other part. This can be done using array slicing.
In case of vertical cropping we need to select all rows, but only some of the columns. So the indexing will be [:,colum_1:column_2,:]
first_index, second_index = 150, 400
side_by_side(numpy_array,
             numpy_array[:, first_index:second_index,:],
             im1_title='original image',
             im2_title='vertical crop')

In case of horizontal cropping we need to select all columns, but only some of the rows. So the indexing will be [row_1:row_2,:,:]
side_by_side(numpy_array,
             numpy_array[first_index:second_index,:,:],
             im1_title='original image',
             im2_title='horizontal crop')

Actually PIL has its own crop() function, where the cropping area will be selected like
box = (left, upper, right, lower)
left, upper, right, lower = 140, 140, 400, 400
pil_image_crop = pil_image.crop((left, upper, right, lower))
side_by_side(im1=pil_image,
             im2=pil_image_crop,
             im1_title='original',
             im2_title='cropped_image')

After that if we want we can flip the image, if necessary
side_by_side(im1=pil_image_crop,
             im2=pil_image_crop.transpose(Image.FLIP_LEFT_RIGHT),
             im1_title='cropped image',
             im2_title='rotated cropped image')

Cropping Image:Opencv
Actually what we have done using array slicing we can do it like similarly with opencv image
cv_image_new = cv2.cvtColor(cv_image, cv2.COLOR_BGR2RGB)
horizontal_crop_image = cv_image_new[first_index:second_index,:,:]
side_by_side(cv_image_new,
             horizontal_crop_image,
             'original opencv image',
             'horizontally cropped opencv image')

vertical_crop_image = cv_image_new[:, first_index:second_index, :]
side_by_side(cv_image_new,
             vertical_crop_image,
             'original open cv image',
             'vertically cropped opencv image')

Changing Specific Image Pixels: PIL
Actually we can change specific pixel of the image using array indexing.
We will set specific pixel channel 1, and channel 2 to zero. This can be done by indexing the channel information and setting them to zero
numpy_rec = np.copy(numpy_array)
numpy_rec[first_index:second_index,:,1:2] = 0
side_by_side(numpy_array, numpy_rec, 'original image',
             'altered image')

numpy_sq = np.copy(numpy_array)
numpy_sq[first_index:second_index, first_index:second_index,1:2] = 0
side_by_side(numpy_array,
             numpy_sq,
             'original image',
             'altered image')

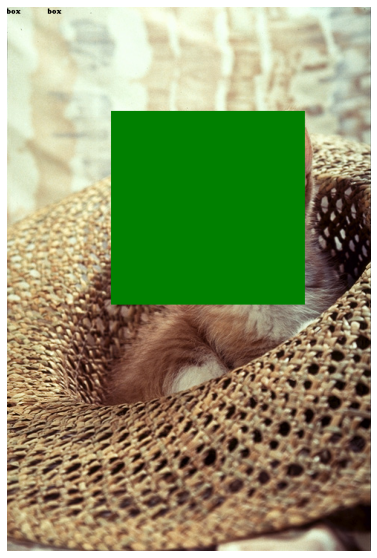
To draw a box we actually can use ImageDraw of PIL library.
show_image(pil_image)

from PIL import ImageDraw
from PIL import ImageFont
pil_image = Image.open('cat.png')
# We will create a copy of the image. so that we can create a new object containing a box in the image
image_draw = pil_image.copy()
# We have a new object where we will be creating our box
draw = ImageDraw.Draw(im=image_draw)
shape = [left, upper, right, lower]
draw.rectangle(xy=shape,fill="green")
show_image(image_draw)

draw.text(xy=(0, 0), text='box', fill=(0,0,0))
show_image(image_draw)

draw.text(xy=(55, 0), text='box', fill=(0,0,0))
show_image(image_draw)
draw.text(xy=(176, 380), text='176, box', fill=(0,0,0))
show_image(image_draw)

We can actully cut one image and paste it to another iamge
pil_image_lena = Image.open('lenna.png')
numpy_array_lena = np.array(pil_image_lena)
numpy_array_lena[upper:lower, left:right,:]  = numpy_array[upper:lower, left:right,:]
show_image(numpy_array_lena)

In PIL there is a method, where we actually don’t need array indexing. We actually can directly call paste() method from PIL library.
show_image(pil_image_crop)

pil_image_lena.paste(pil_image_crop, box=(left, upper))
show_image(pil_image_lena)

Changing Specific Image Pixels: Opencv
What process we have used with PIL Image after converting them to numpy, everything is applicable for opencv image. For example we have used cat image and put some specific pixel value to some of the channel to zero. We can do the same thing again with opencv image. But we will do a little bit different things.
Here we will use the same place of the image, but instead of two channels, we will use all the channels, and put them zero.
new_cv_image = cv2.cvtColor(cv_image, cv2.COLOR_BGR2RGB)
cv_square_image = np.copy(new_cv_image)
cv_square_image[upper:lower, left:right,:] = 0
side_by_side(new_cv_image, cv_square_image,'actual image', 'cropped altered image')

We can draw different shape like PIL image. Here we wil create a box which type of box we actually see in object detection.
We can draw the coordinate of the rectangle: (left, top) or $x_{0}, y_{0}$ and other coordinate point. ( right, lower ) or $x_{1}, y_{1}$
start_point, end = (left, upper), (right, lower)
draw_image = np.copy(new_cv_image)
cv2.rectangle(draw_image, pt1=start_point, pt2=end,
              color=(0, 255, 0),
              thickness=3)
side_by_side(new_cv_image,
             draw_image, 'actual image','image with rectangle')

Like PIL we can put text in opencv image.
img: Image array text: Text string to be overlayedorg: Bottom-left corner of the text string in the imagefontFace: tye type of font fontScale: Font scalecolor: Text colorthickness: Thickness of the lines used to draw a textlineType: Line typetext_image = cv2.putText(img=new_cv_image,
text='some text',
org=(10, 500),
color=(0,255, 0),
fontFace=4,
fontScale=5,
thickness=3)
show_image(text_image)

References:
- This whole notebook is actually combination of two notebooks, which is my class note of coursera course. Basic compuer vision
- Open CV